Friday, December 27, 2013

Gift Idea: Fabric Clipboards

"Tomorrow, I'm going to give a pretty and practical gift."


I did this project last year as a gift for my brother. I wanted to give budget-friendly, homemade gifts that weren't too "crafty." Originally, I was going to get him wall hooks to hang the clipboards up by his computer, but he said he liked having them on the desk.

Here's what you need:

Clip board(s)
Fabric(s)
Scissors
Mod Podge
Foam brush
Something flat to smooth out potential bubbles

Step 1: Cut the fabric an inch or so bigger than the clipboard.

Step 2: Use the foam brush to apply a liberal, even layer of Mod Podge. 


Step 3: Slowly press down the fabric from the top, then smooth gently with a flat object. The Mod Podge will likely soak through the fabric. It shouldn't be puddle-y but a little dew-y is fine because it hardens to make a surface that you can write on.

Step 4: Once the front is dry, flip the clipboard over. Cut off the bottom corners of the fabric so the fold is less bunchy (not pictured, sorry). Apply Mod Podge to the edges. Fold fabric. 

Step 5: Apply a thin layer of Mod Podge all over to create a hard surface. Hang to dry.

Step 6: Rejoice! Consider including screw hooks or Command hooks with your gift. 

Step 7: Make some for yourself!


Thursday, October 17, 2013

Aunt Jan's House: Making a Headboard

"Tomorrow, I'm going to build a headboard."

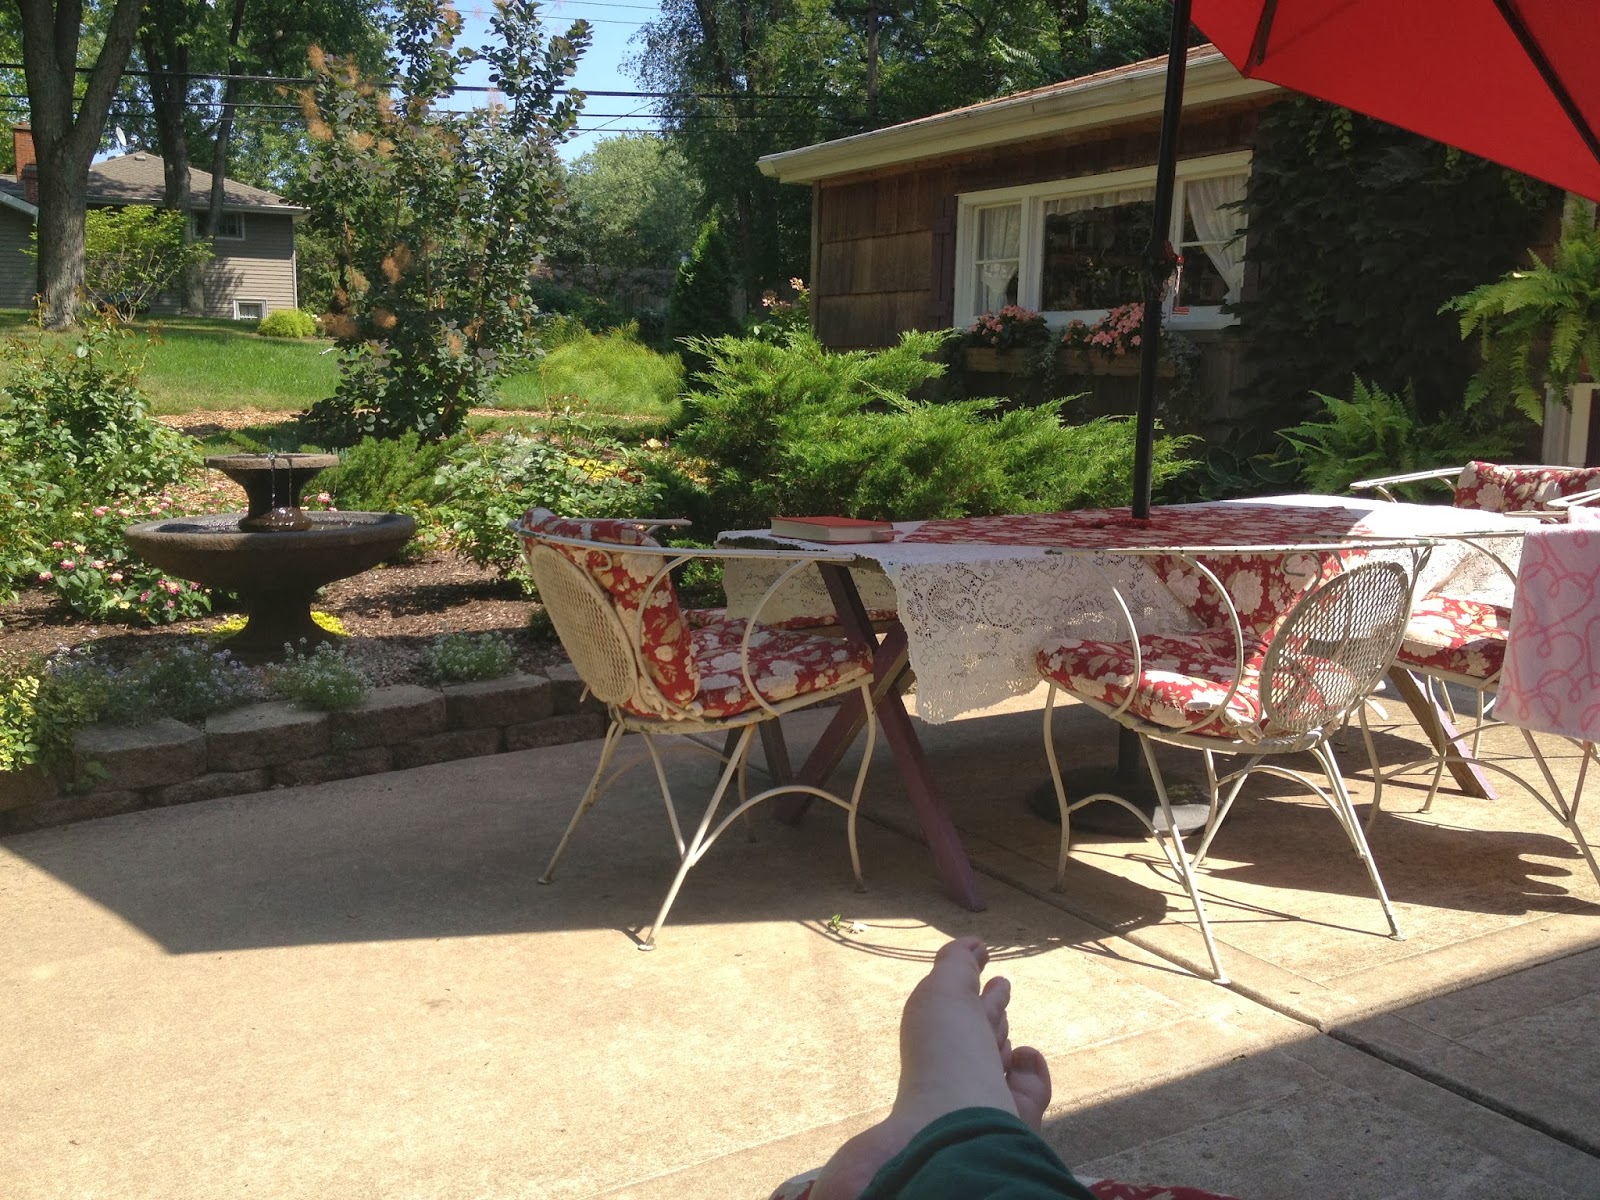
Reading in the most peaceful setting, ever.

This summer I went to visit my family in Chicago for my Great Uncle Ron's 80th birthday, and had the great honor of staying with him and my Aunt Jan. Jan has done a beautiful job decorating her home, and has an incredible garden.

Aunt Jan and I were having lunch and looking at decorating magazines, when she told me about an unfinished project she had to build a headboard. I said, "Let's do it!"

The reason Aunt Jan hadn't finished the project was that she thought she would need a second set of hands to carry a large piece of beadboard from the home improvement store. Luckily, when we got to the store, we noticed they sold a piece of beadboard that was already the perfect size!


The frame is two old window frames nailed together, and a decorative moulding nailed to the top. (Aunt Jan had already assembled the headboard that far.) When we lined the beadboard up and realized it was the EXACT RIGHT SIZE, there was much rejoicing. We put the frame on the ground and nailed the beadboard into the back of the frame.

All that was left was to screw the finished project into the wall and voila.


Aunt Jan says the only thing that matters about decorating is that the end result makes you smile. I think that makes this project a huge success!

Thursday, October 10, 2013

Responsible Renter: Felt Pads


"Tomorrow, I'm going to  apply protective felt pads to my chairs."

Felt pads
 This is one of those things that's easy to overlook until it's too late. When I first set up my table and chairs, the slight drag on the floor made me cringe a little every time I moved a chair to sit down or clean under it. I bought some felt pads and they were easy to stick on--just had to clean the chair feet first.

When my brother/roommate came into the kitchen, I pulled out a chair and said, "Do you hear that?"

He said, "What?"

I said, "Exactly."

So here's a happy reminder. Whether you own or rent, protect your floors!
Felt pads

Tuesday, January 22, 2013

The Hazards of Combining Flavors: Espresso Cheesecake Brownies

“Tomorrow, I will combine everything I like about dessert into one mega-dessert!”


This dessert is a crazy mixture of several other desserts.  There is a layer of very chocolatey brownie.  Then there is a rich cheesecake, flavored with coffee. To top them off, there is a sweet-tart layer of sour cream.  

Combining flavors is a risky business.  You never quite know what will be delicious and what will fall flat. And the more flavors you combine, the greater the chance that you will choose one that people don’t like. As a result, I wasn’t able to give these brownies away very quickly. Coffee haters and cheesecake haters both spurned these brownies.

Dessert: Delicious yet Devious
For me, this dessert was a dream come true.  I love coffee, I love chocolate, I adore cheesecake (especially in small amounts), and sour cream was literally the icing on the cake.  


Saturday, January 19, 2013

Quick Hot Cocoa: An Easy Treat

 “Tomorrow, I’m going to make hot cocoa without a mix.”


I occasionally get into hot cocoa grooves.  I can go months and years without drinking hot cocoa and then, one not-so-special day, I must have it.  

I’m admittedly food snobbish about many things, but not hot cocoa.  One day, I tried to be.  I decided to melt bittersweet chocolate and add some milk, making a thick concoction that was undeniably delicious.  However, it was so rich that I threw up. Yeah...cool story, right?

Since that unpleasant experience, I have preferred a less rich, very milky hot cocoa. Something that resembles the kind made from a mix, but without the trip to the store. Since I usually keep milk and cocoa on hand for baking, this recipe is perfect for a one-off hot cocoa craving.  Without the vomit.

FILL ME WITH DELICIOUS

Quick Hot Cocoa
(one serving)

1 tablespoon cocoa powder
1 tablespoon granulated sugar
2 tablespoon water
¾ cup milk (any fat %, non-dairy would probably work as well)
drop of vanilla extract

Combine cocoa, and sugar in a microwave safe mug.  Pour over water and stir.  Microwave on high for 30 seconds.  
Add milk and stir to combine.  Microwave on high until as warm as you like (about a minute on my microwave that is from the the 80s).
Add a drop of vanilla extract.  Stir one last time.  Serve with marshmallows or whipped cream, if you like.

Source: Top Secret Recipes- Starbucks Hot Chocolate by Todd Wilbur