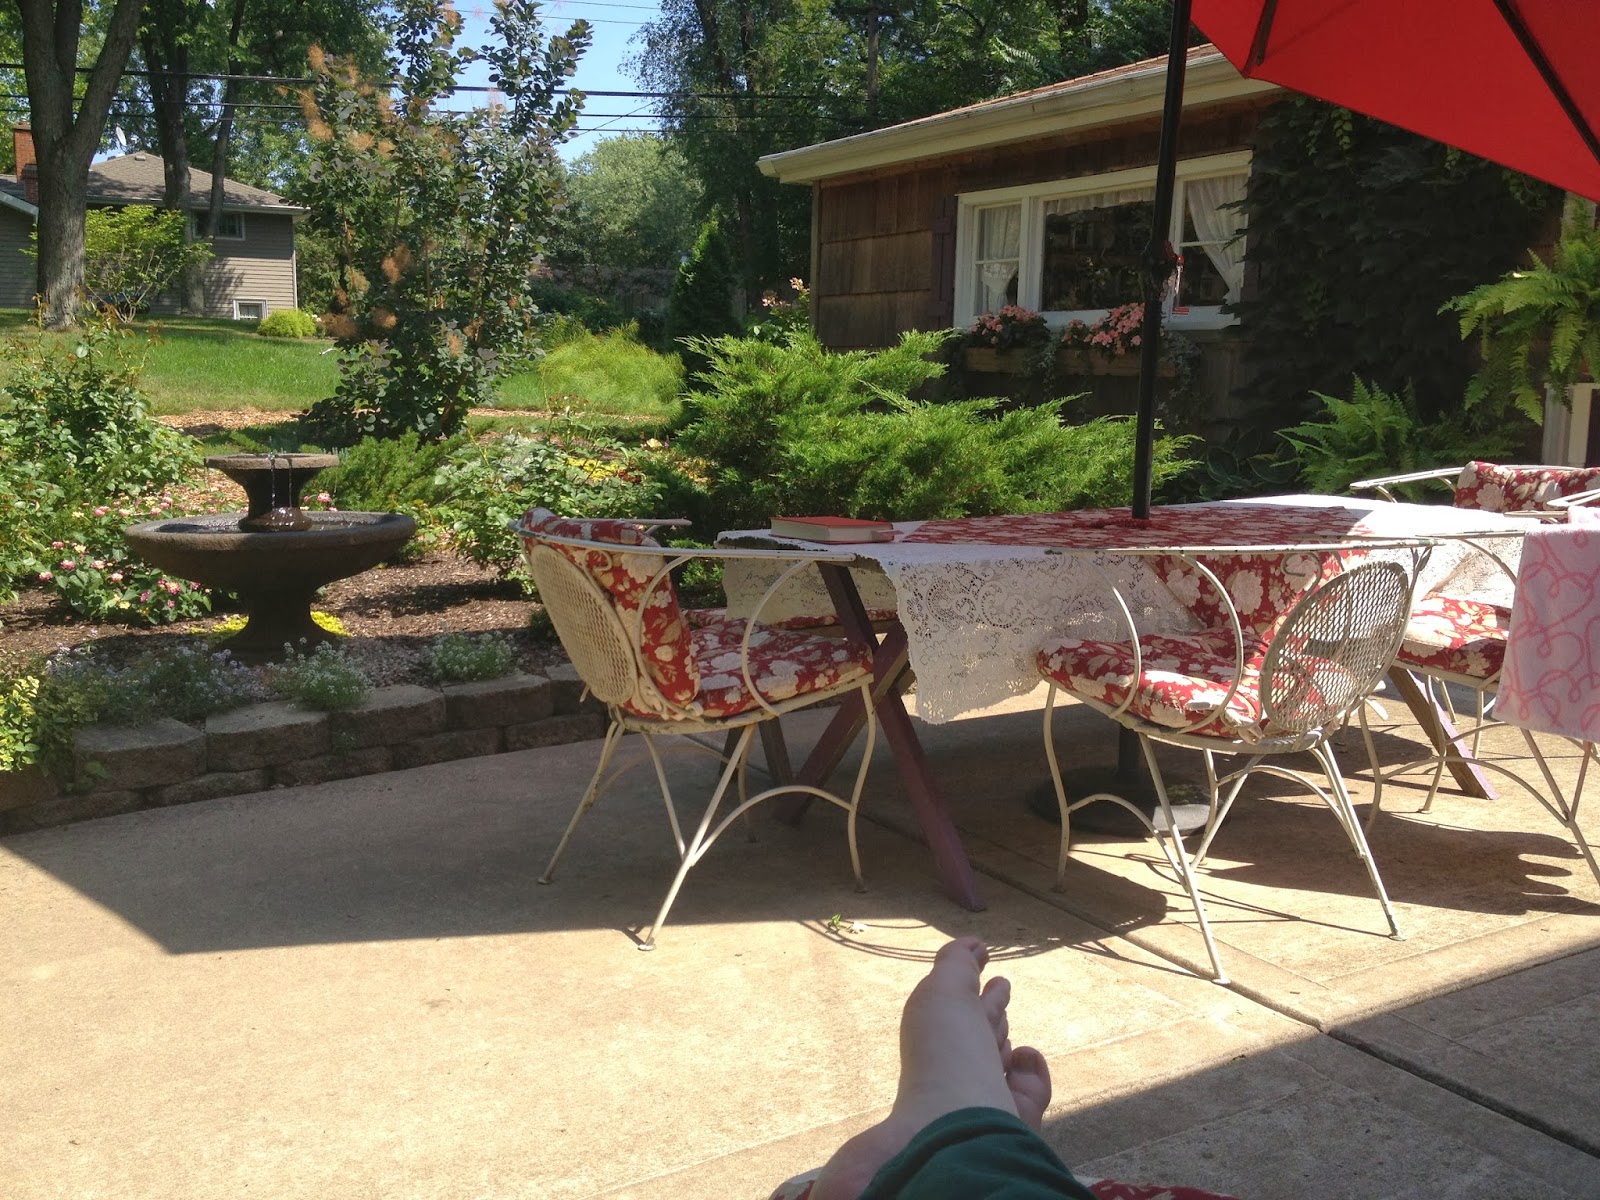
"Tomorrow, I'm going to do the dishes."
 |
| My kitchen sink, post-Finals Week last quarter |
Living with my brother has been great. With past roommates, I had unrealistic expectations. I thought that chores should be perfectly divided and perfection was possible. I've since learned that, because everyone has a different threshold of what constitutes messy, chore distribution will never be even. Of course there are ways to make living together more fair, such as the less-clean person is responsible for getting the mail. Or going to pick up the salads and whole grain sandwiches (JK--it's pizza, obviously). So, dear past roommates, my sincerest apologies for being snarky and resentful. I was young.
I've been cleaning up after my brothers since I was old enough to pick up a toy and put it in a box, so basically since they were born. I was pleasantly surprised when Jeff suggested we have a chore day, and even more pleased when he meant it. I make a list and we check things of with our designated-color pens and everything. I mean, this has been going on for seven months, people. This is not a drill.
 |
Jeff cleaning the bathtub
(This became something of a
caption contest on Facebook.)
|
I think because he's an open-minded person, except when he's a butthead...sorry, childhood flashbacks... Anyway, he genuinely wants to learn how to be cleaner and more organized.
"I like taking out the trash because it's quick and you can see when it's done," he said.
So I asked him how he would feel if I made a list breaking doing the dishes into separate, manageable chores, and he said that would be great!
How to Do the Dishes in Separate, Manageable Chores
Start at the top and see how much you can get done in x minutes or just do one, be proud, and go on with your day.
1. Empty the dishwasher
2. Empty the drying rack
3. Put dishwasher-safe items in dishwasher: bowls on top, plates on bottom
If full, put in detergent and run it.
4. Hand wash cooking utensils, knives, and small objects
5. Hand wash pots and pans
6. Wipe down sink and counters
If you need a breakdown of the steps, let me know and I'll happily share my technique. If your kitchen is different from mine and some of the steps don't apply to you, that's okay. The most important thing I want to convey in this post is that no chore should be daunting. A big chore is just a bunch of little chores. Remember to clean as you cook to keep the dishes from piling up, and the little chores will be really little!

 Vegetarian Hungarian Goulash
  Turkey Stroganoff
 Turkey Cabbage Rolls
 Arancini di Riso
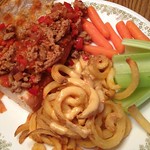 Sloppy Turkey Joe’s
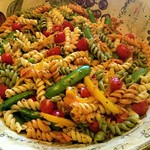 Pasta Primavera
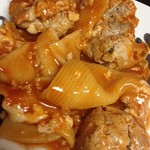 Mexican Stuffed Shells
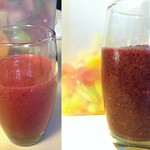 Leftover Fruit Salad Smoothies (on left with frozen raspberries, right with blueberries
 Jeff’s Tacos (soft shell and homemade hard shell)
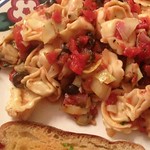 Herbed Artichoke Tortellini
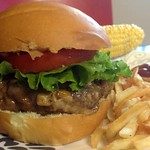 Gourmet Burger from our local grocer
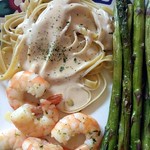 Fettuccine Alfredo, Lemon-Dijon Asparagus, Lemon Garlic Brined Shrimp
  Falafel Chicken and Hummus Coleslaw
 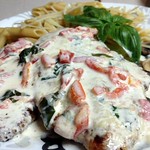 Creamy Basil Chicken
  Corn Leek Chowder
 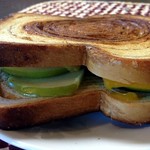 Cinnamon Swirl Grilled Cheese
  Jeremy’s Chicken Marsala
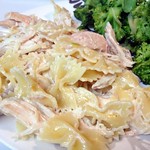 Chicken Caesar Pasta
 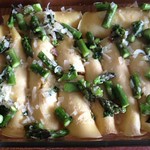 Chicken Asparagus Crepes
  Breakfast Bistro Panini
 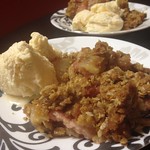 Apple Rhubarb Crumble